TBitmapについておさらいしておきましょう
前の記事でTBitmapというのが出てきましたが、これを介してGrayscale(白黒ともいふ)イメージを作ってみましょう。いつものようにVCLでTImageを使います。実行例は、
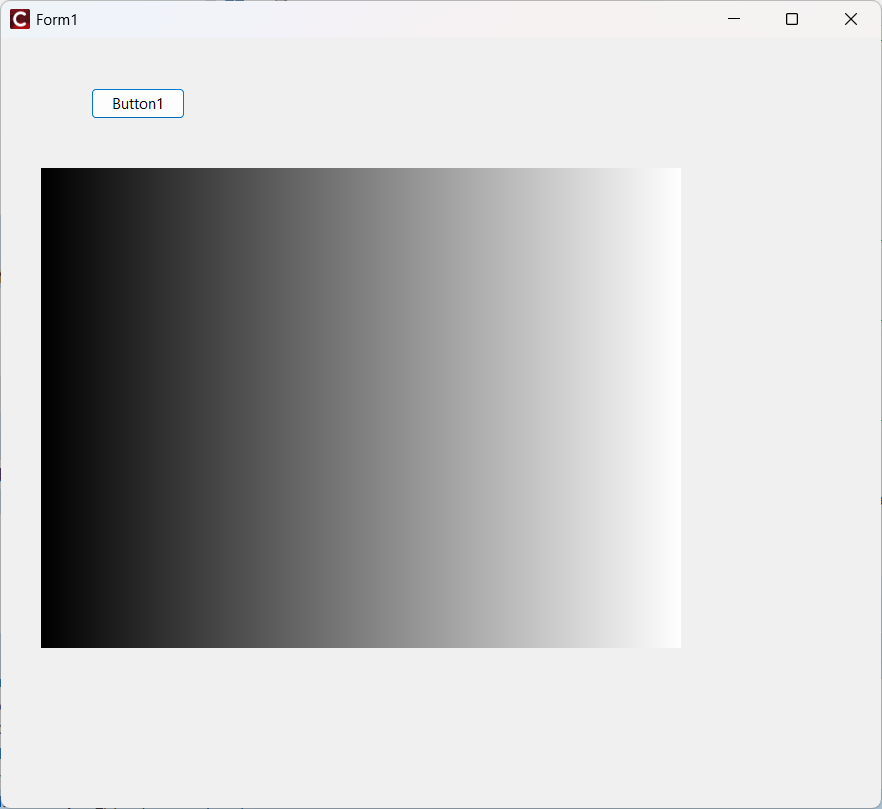
まずフォームは、TImagex1,TButtonx1です。適宜配置してください。Unit1.hは、
//---------------------------------------------------------------------------

#ifndef Unit1H
#define Unit1H
//---------------------------------------------------------------------------
#include <System.Classes.hpp>
#include <Vcl.Controls.hpp>
#include <Vcl.StdCtrls.hpp>
#include <Vcl.Forms.hpp>
#include <Vcl.ExtCtrls.hpp>
//---------------------------------------------------------------------------
class TForm1 : public TForm
{
__published:	// IDE で管理されるコンポーネント
	TImage *Image1;
	TButton *Button1;
	void __fastcall Button1Click(TObject *Sender);
private:	// ユーザー宣言
public:		// ユーザー宣言
	__fastcall TForm1(TComponent* Owner);
};
//---------------------------------------------------------------------------
extern PACKAGE TForm1 *Form1;
//---------------------------------------------------------------------------
#endif
Unit1.cppは、
//---------------------------------------------------------------------------

#include <vcl.h>
#include <Vcl.Graphics.hpp>
#include <Vcl.Imaging.pngimage.hpp>
#include <System.Classes.hpp>
#include <memory>
#pragma hdrstop

#include "Unit1.h"
//---------------------------------------------------------------------------
#pragma package(smart_init)
#pragma resource "*.dfm"
TForm1 *Form1;
//---------------------------------------------------------------------------
__fastcall TForm1::TForm1(TComponent* Owner)
	: TForm(Owner)
{
}
//---------------------------------------------------------------------------


void LoadGrayscaleFromBuffer(Graphics::TBitmap* bmp, const Byte* rawBuffer, int width, int height) {
	// 1. Initialize sizes and the 256-color grayscale palette
	bmp->PixelFormat = pf8bit;
	bmp->Width = width;
	bmp->Height = height;

	LOGPALETTE* pPal = (LOGPALETTE*)malloc(sizeof(LOGPALETTE) + (sizeof(PALETTEENTRY) * 256));
	pPal->palVersion = 0x0300;
	pPal->palNumEntries = 256;
	for (int i = 0; i < 256; i++) {
		pPal->palPalEntry[i].peRed   = i;
		pPal->palPalEntry[i].peGreen = i;
		pPal->palPalEntry[i].peBlue  = i;
		pPal->palPalEntry[i].peFlags = 0;
	}
	bmp->Palette = CreatePalette(pPal);
    free(pPal);

    // 2. Copy pixels row-by-row to handle automatic 4-byte alignment padding
	for (int y = 0; y < height; y++) {
        // Point to the beginning of row Y in the destination bitmap
		Byte* destRow = (Byte*)bmp->ScanLine[y];

		// Point to the beginning of row Y in your packed source buffer
        const Byte* srcRow = &rawBuffer[y * width];

        // Copy only the exact pixel width data
		memcpy(destRow, srcRow, width);
    }
}

void __fastcall TForm1::Button1Click(TObject *Sender)
{
	int width = 640;
	int height = 480;

	// Simulate an external 8-bit memory buffer (e.g., from a camera API)
	std::unique_ptr<Byte[]> mockBuffer(new Byte[width * height]);

	// Generate a horizontal gradient pattern
	for (int y = 0; y < height; y++) {
		for (int x = 0; x < width; x++) {
			mockBuffer[(y * width) + x] = (Byte)((x * 255) / width);
		}
	}


	Graphics::TBitmap *bmp = new Graphics::TBitmap();
	LoadGrayscaleFromBuffer(bmp, mockBuffer.get(), width, height);

	// Display inside the TImage component
	Image1->Picture->Assign(bmp);
	//Image1->Picture->SaveToFile("sample.dat");
	//std::unique_ptr<TPngImage> png(new TPngImage());
	TPngImage* png = new TPngImage();

	// Assign the bitmap data directly into the PNG object
	png->Assign(bmp);

	// Save the compressed lossless data directly to disk
	png->SaveToFile("sample.png");
}
//---------------------------------------------------------------------------
ストーレートフォワードな処理なので、解説は不要だと思いますが、
	int width = 640;
	int height = 480;

	// Simulate an external 8-bit memory buffer (e.g., from a camera API)
	std::unique_ptr<Byte[]> mockBuffer(new Byte[width * height]);

	// Generate a horizontal gradient pattern
	for (int y = 0; y < height; y++) {
		for (int x = 0; x < width; x++) {
			mockBuffer[(y * width) + x] = (Byte)((x * 255) / width);
		}
	}
ここで、width x height なByteバッファーをnewして、水平方向の位置により値を変えて、グラデーションパターンを作ります。ほんとsmart pointer好きですね。多分Gemini君。(笑)
	Graphics::TBitmap *bmp = new Graphics::TBitmap();
LoadGrayscaleFromBuffer(bmp, mockBuffer.get(), width, height);TBitmapへのポインターbmpをnewして、mockBufferから値を配置します。そのための関数が、void LoadGrayscaleFromBuffer(Graphics::TBitmap* bmp, const Byte* rawBuffer, int width, int height) です。グレイスケールフォーマットにするためには、paletteないしindexをきちんと用意する必要があり、その後値を入れていきます。
Image1->Picture->Assign(bmp);bmpが用意できれば、これをTImageつまりインスタンスとしてはImage1に表示するのは、この一行でおけ。
	TPngImage* png = new TPngImage();

	// Assign the bitmap data directly into the PNG object
	png->Assign(bmp);

	// Save the compressed lossless data directly to disk
	png->SaveToFile("sample.png");
pngフォーマットでファイルにセーブするのは、上記の手順でおけです。こうして出来た”sample.png”をアプリから開くと、
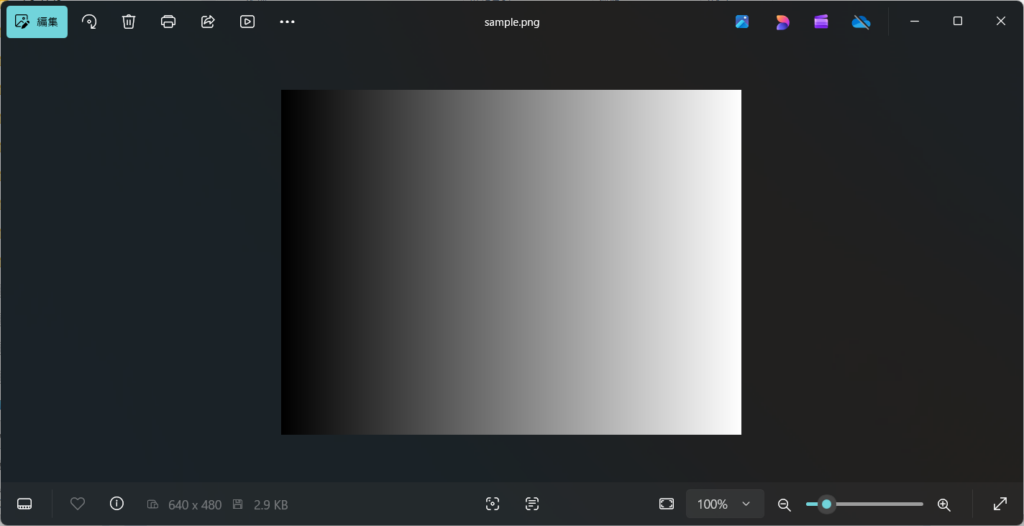
ファイルのプロパティーは、
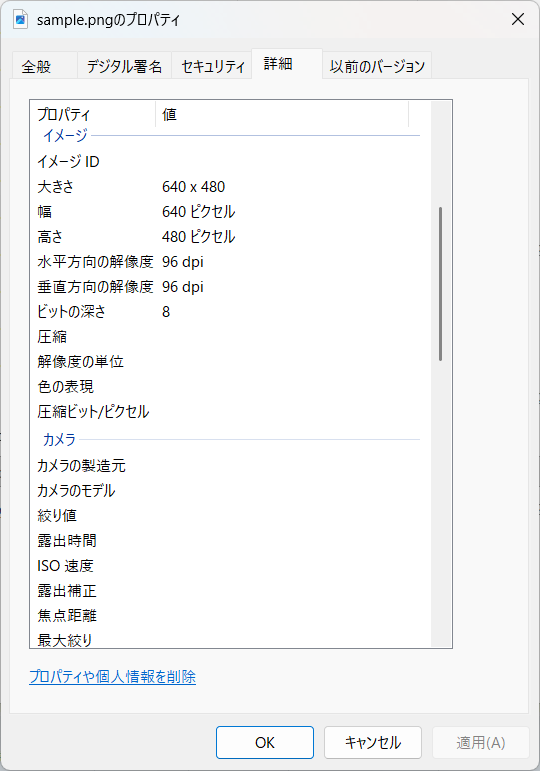
8bitのGrayscaleファイルになっています。ただし、grayscaleの計算方法は、諸説ありますので、注意してください。要は、冒頭の明るさ分布が感覚とズレているので、補正すべきだという意見もあります。主に24bitカラー画像を白黒化する時に、補正すべきだということです。Gemini君曰:
AI による概要
カラー画像を白黒(グレースケール)に変換する代表的な計算式は、人間の目の感度特性(Luminance)を考慮したNTSC系加重平均法です。式は Y = 0.299 × R + 0.587 × G + 0.114 × B で表され、緑色の影響を最も強く反映します。 [1, 2]
主な白黒化の計算式
- NTSC系加重平均法(輝度)
Y = 0.299R + 0.587G + 0.114B- 人間が明るさを感じやすい緑(G)を重視した標準的な式です。 []
- ITU-R BT.709(HDTV用)
Y = 0.2126R + 0.7152G + 0.0722B- デジタルハイビジョンなどで使われる現代的な輝度計算式です。 []
- 単純平均法
Y = (R + G + B) / 3- RGBの値をそのまま足して3で割るシンプルな方法です。計算負荷が少ない反面、人間の目で見た自然な明るさとは少しずれます。 []
- 最大値・最小値法(明度 / Lightness)
Y = (max(R, G, B) + min(R, G, B)) / 2- 色の最も強い成分と弱い成分の中間を取る方式です。
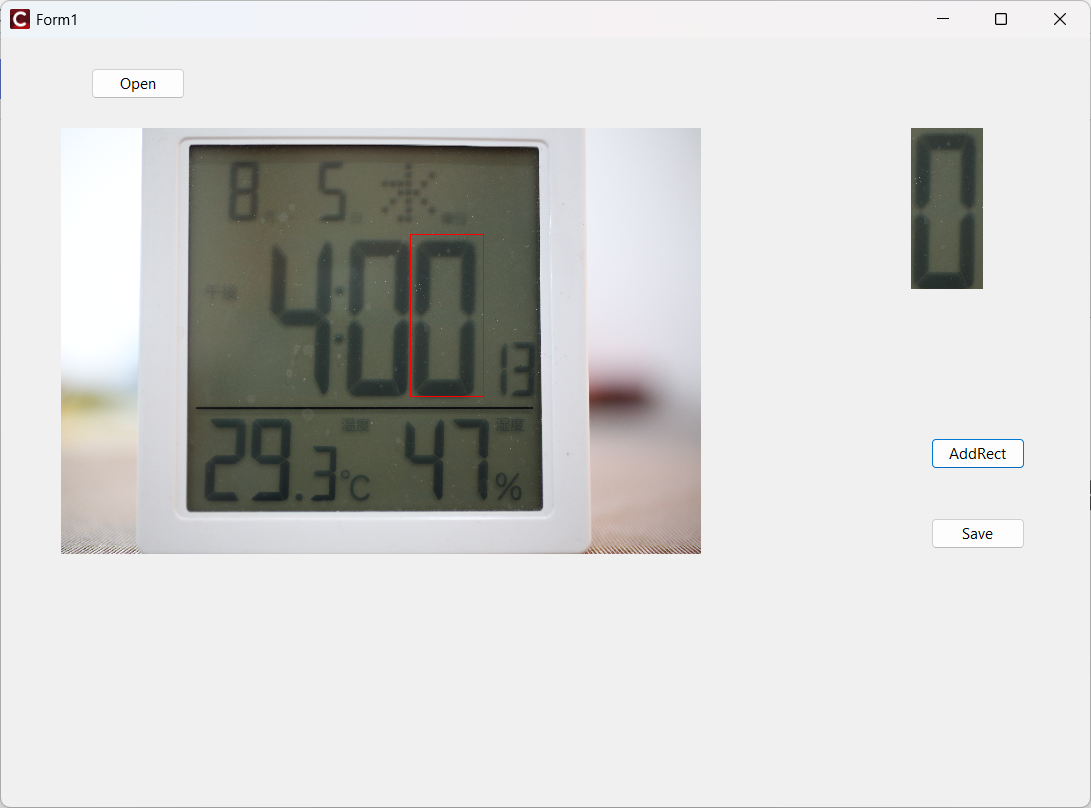
筆者はテンプレートマッチングのためにGrayscaleイメージを用意することを考えているので、人間の感覚は関係ないです。単に一画素の値を一つの8bit値にするので十分なので、
を使うことを考えています。

コメント