
2. Popenを使って、IDE内部から“Git status”するよ。
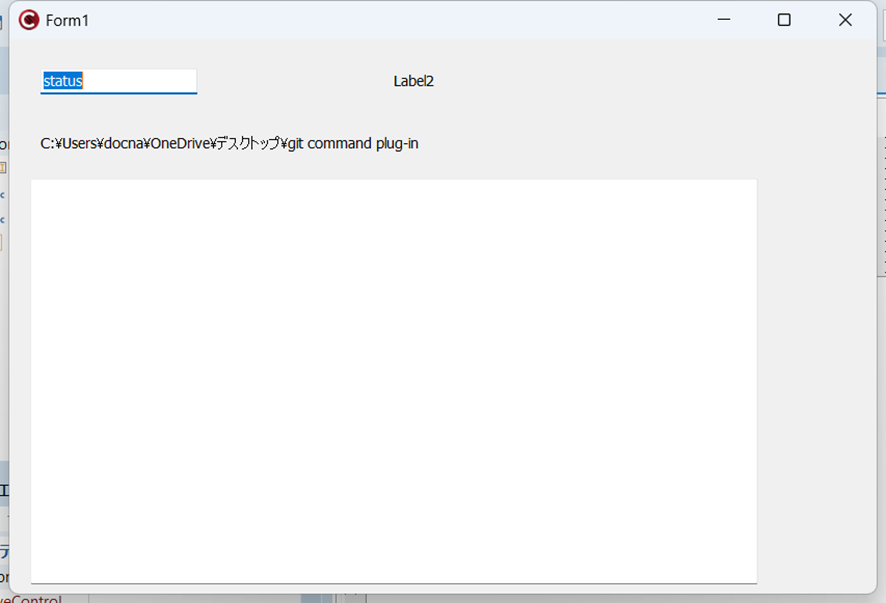
まずフォームですが、以下のようにします。vclでもfmxでもどちらでも。以下はvclの例ですが…..。
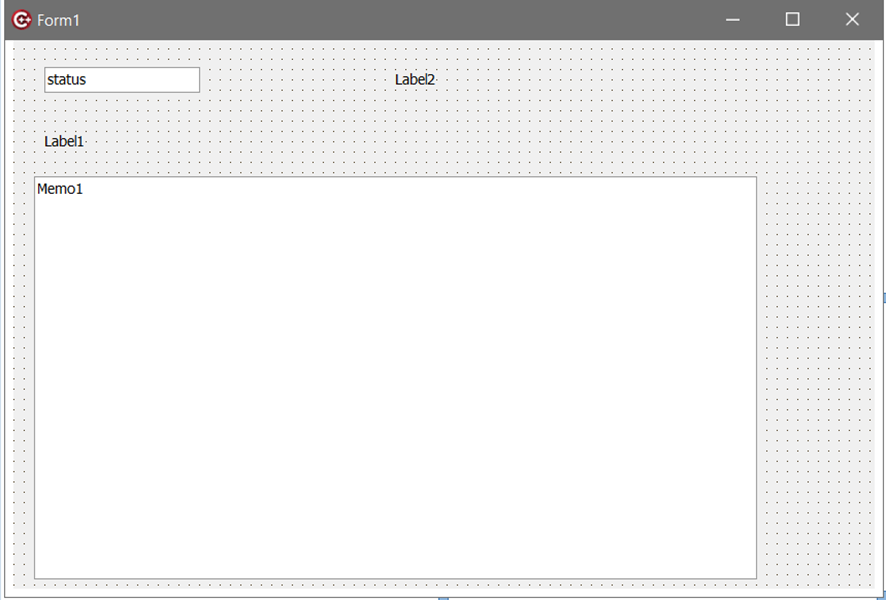
フォームに置くのは、TEdit,TLabelx2,TMemoです。TEditつまりインスタンスとしてはEdit1ですけど、そのプロパティーのEdit1->Textは発行したいGit Commandの“Git”以降の文字列です。実行時に変えられます。一応今は“status”ですが、お好みでなんでも良いです。
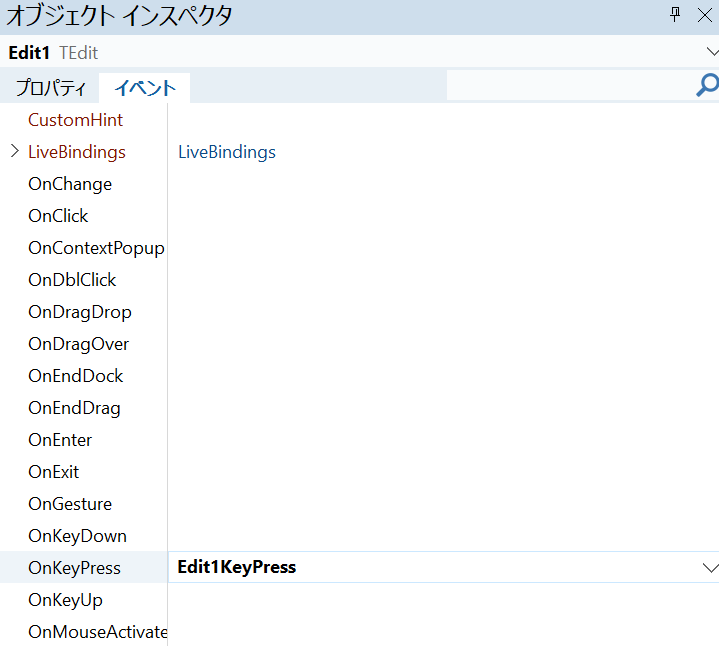
上のオブジェクトインスペクタでEdit1を選んで、さらにプロパティーじゃ無い方のイベントをクリックして、“OnKeyPress”をダブルクリックしておきます。で、以下のコードを足して、
void __fastcall TForm1::Edit1KeyPress(TObject *Sender, System::WideChar &Key)
{

	if( Key == VK_RETURN ){
		//Button1Click(Sender);
		DoItClick(Sender);
		Key = 0;
	}


}
さらにプログラム起動時にEdit1にフォーカスをセットするコードは下記ですけど、これをフォームのコンストラクタには入れられない。なぜならば、コンストラクタはFormを表示する前のタイミングで呼ばれるので、Formを表示した直後に実行するのが良いです。
void __fastcall TForm1::FormShow(TObject *Sender)
{
 Edit1->SetFocus();
}
コードを観ればばれているように、TForm1::FormShowとしてhookします。その簡単なやり方は、

のようにForm1のオブジェクトインスペクタ上で、”イベント”側のOnShowをクリックして、右側の空欄でダブルクリックします。表示された関数の中身に先ほどのコードを入れれば良いです。
Unit1.cppの全体は、
//---------------------------------------------------------------------------
#include <vcl.h>
#pragma hdrstop
#include <System.IOUtils.hpp>
#include <Clipbrd.hpp>
#include <iostream>
#include <sstream>
#include <System.StrUtils.hpp>
#include "popen.h"
#include "Unit1.h"
//---------------------------------------------------------------------------
#pragma package(smart_init)
#pragma resource "*.dfm"

TForm1 *Form1;
//---------------------------------------------------------------------------
__fastcall TForm1::TForm1(TComponent* Owner)
	: TForm(Owner)
{
	AnsiString target;

	if( ParamCount() > 0 ){
		target = TPath::GetDirectoryName(ParamStr(1));
	}
	else
		target = GetCurrentDir();


	Label1->Caption = target;

	ChDir(target);
	Memo1->Lines->Clear();


}

void __fastcall TForm1::DoItClick(TObject *Sender)
{

	DWORD   retcode;
	String rtn;
	String command = "git";

	String args = Edit1->Text;

	rtn = Popen(command,args,retcode);
	Memo1->Lines->Clear();
	Label2->Caption = IntToStr((int)retcode);
	TStringDynArray array = SplitString(rtn,"\n");

   for (int i = 0; i < array.Length; ++i)
	Memo1->Lines->Add(array[i].c_str()); // OK

}
//---------------------------------------------------------------------------

void __fastcall TForm1::Edit1KeyPress(TObject *Sender, System::WideChar &Key)
{

	if( Key == VK_RETURN ){
		//Button1Click(Sender);
		DoItClick(Sender);
		Key = 0;
	}


}
//---------------------------------------------------------------------------

void __fastcall TForm1::FormShow(TObject *Sender)
{
 Edit1->SetFocus();
}
他に前記事C++ Builder CE 外部プログラムの利用で紹介したpopen.hとpopen.cppをプロジェクトに追加しておきます。結果のプロジェクトの様子は、
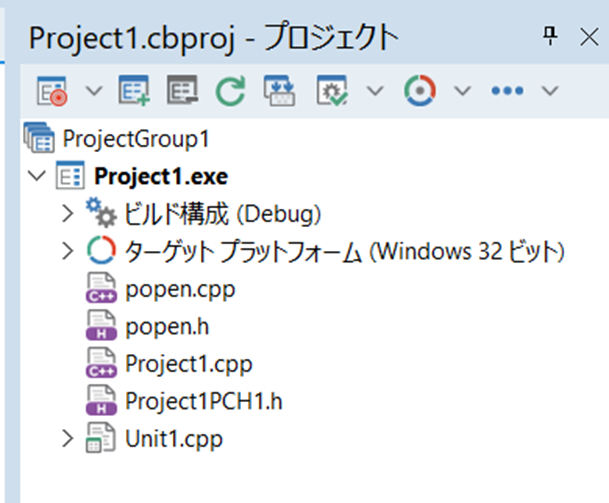
のようなっていればおけです。では“F9”ないし“Shift-F9”です。エラーが出なければおけです。
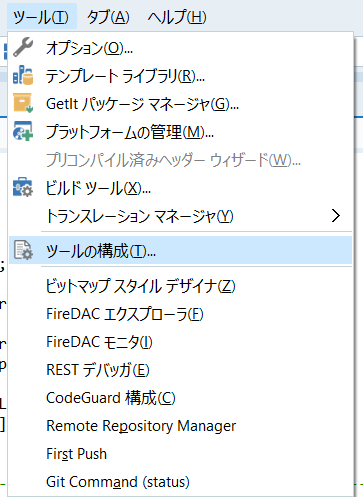
実行プログラムが無事できたならば、これをIDEの外部ツールに登録します。その手順は、まずメニューのツールの構成を選択します。
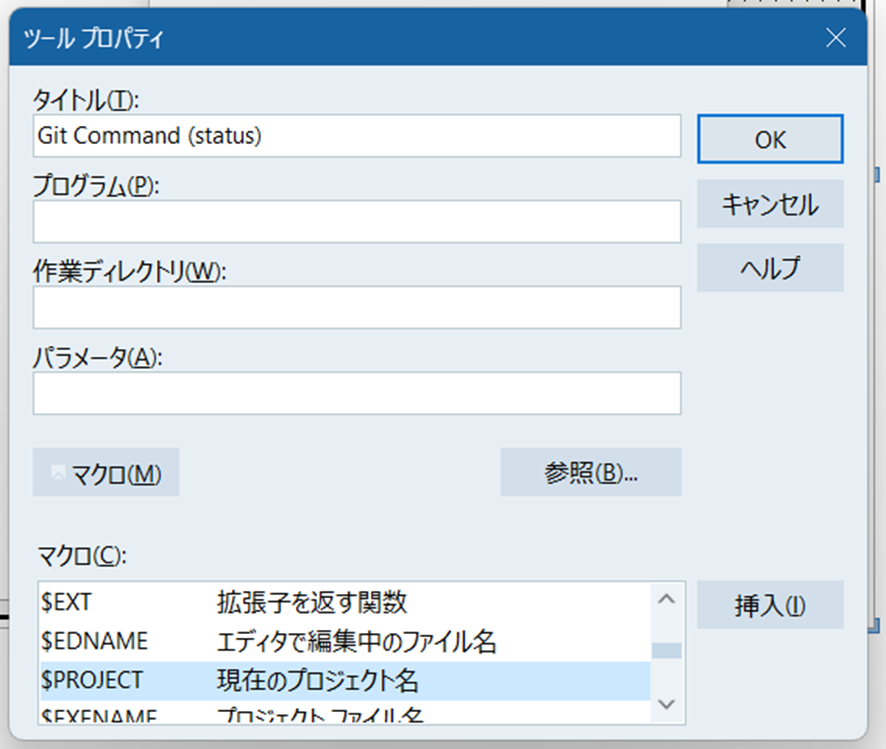
次に出てくる以下のダイアログで、まずタイトルを決めます。今回はGit Commandですが、defaultがstatusなので、以下のように“Git Command(status)”とかでいいですかね?さらにマクロから”$PROJECT”を選んで、”挿入”します。
そのまでで、
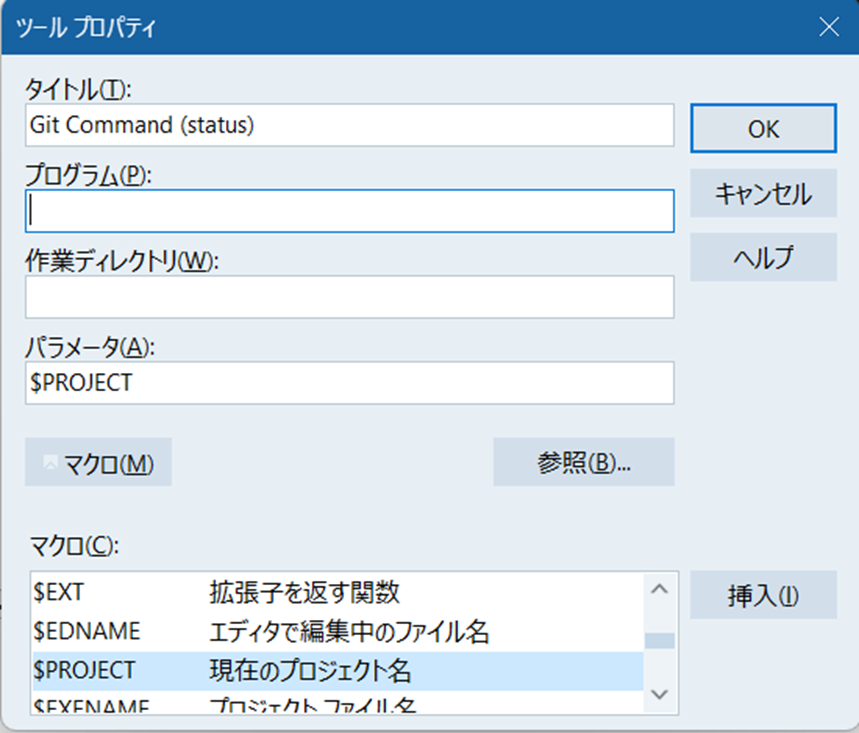
こうなるので、上の図にあるように”プログラム(P):”のボックスにクリックを入れて、フォーカスしておいてから、”参照”ボタンをクリックします。ディレクトリを辿って、
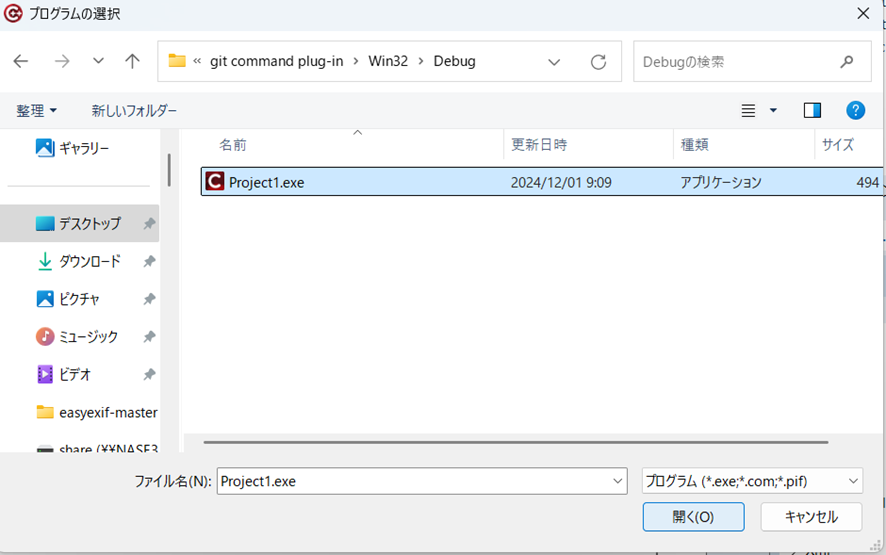
先ほど生成したバイナリまで到達したら、”開く”をクリックします。
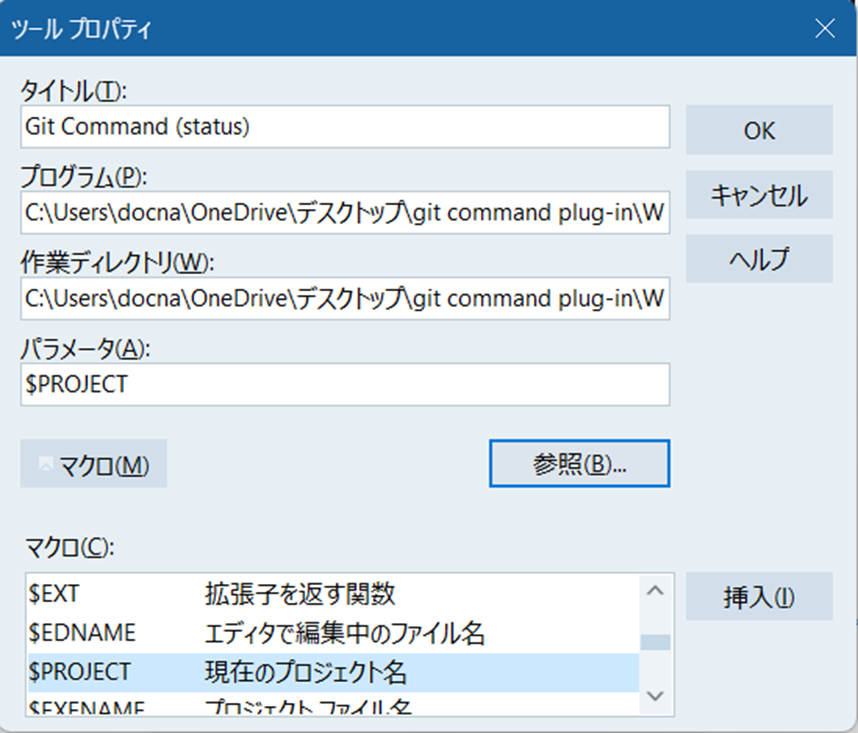
こんな感じでオッケーです。まさに”OK”をクリックすると。
ここで”閉じる”をクリックして登録は終了です。
使い方は、プロジェクト作業中に
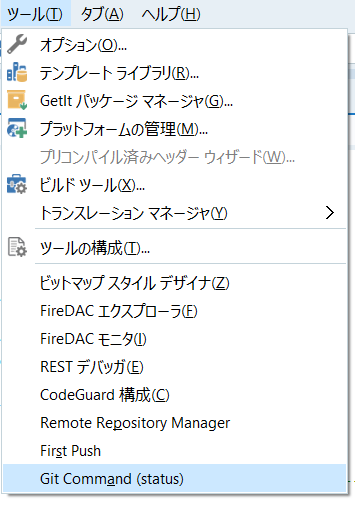
メインメニューの”ツール”から図のように“Git Command (status)”を選択して起動します。
最初からEdit1にフォーカスが当たっていますので、ここでリターンキーです。”OK”ボタンを押すのは面倒ですよね。だからボタンはありません。Vectorさんで公開しているものより面倒さが少ないといいのですがね。
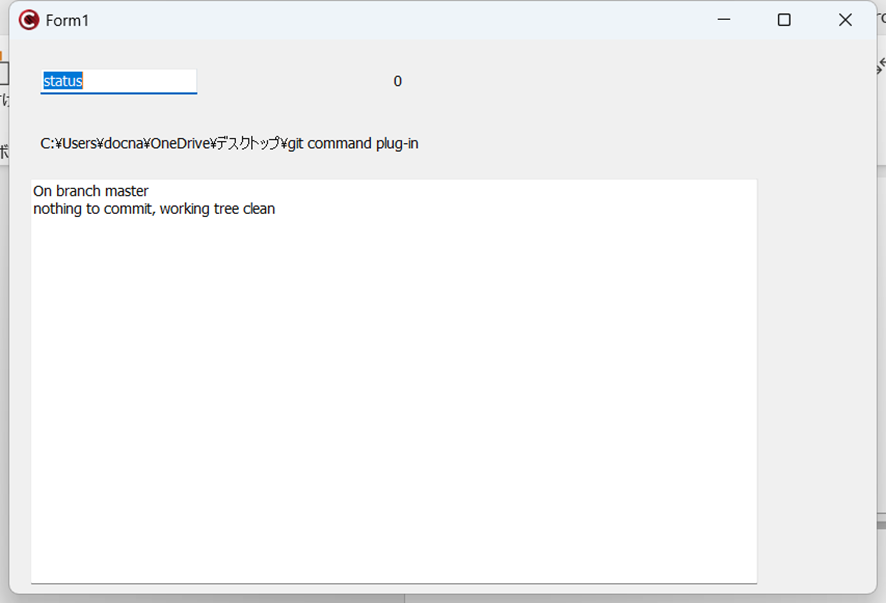
と“Git status”の結果がIDEの中から確認できます。登録コマンドに適切なアクセラレーターキーを割り当てておけば、キー入力一発で結果が得られます。初期文字列”status”をバックスペース等で消してから、“remote -v”とすると、
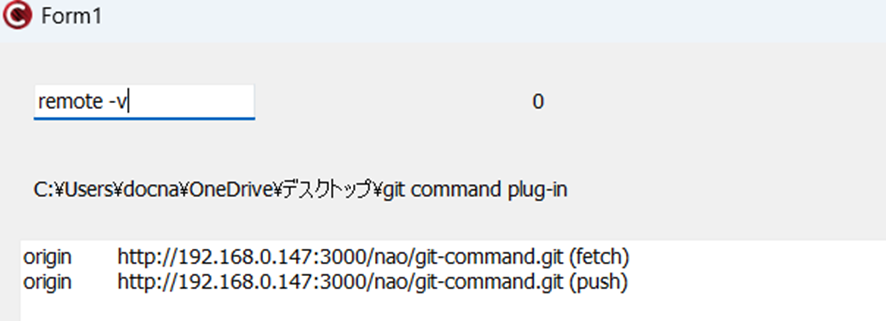
と結果が得られます。
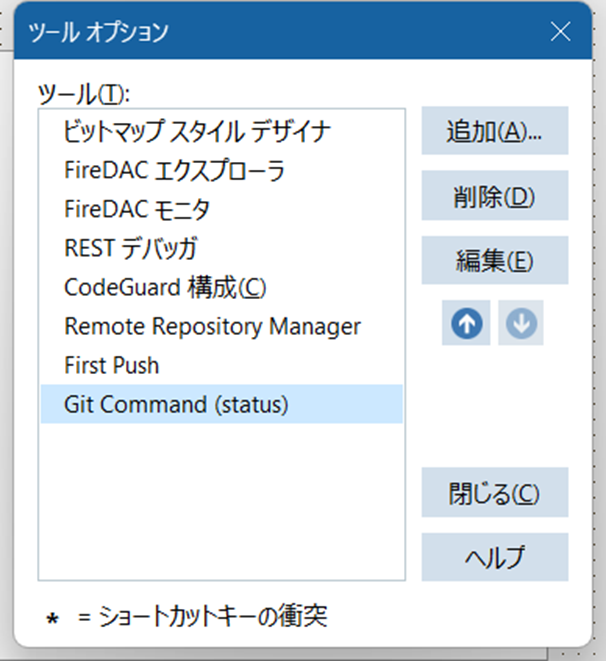
Visual Studioでも同じように使えます。そのためにはまず外部ツールとして登録します。
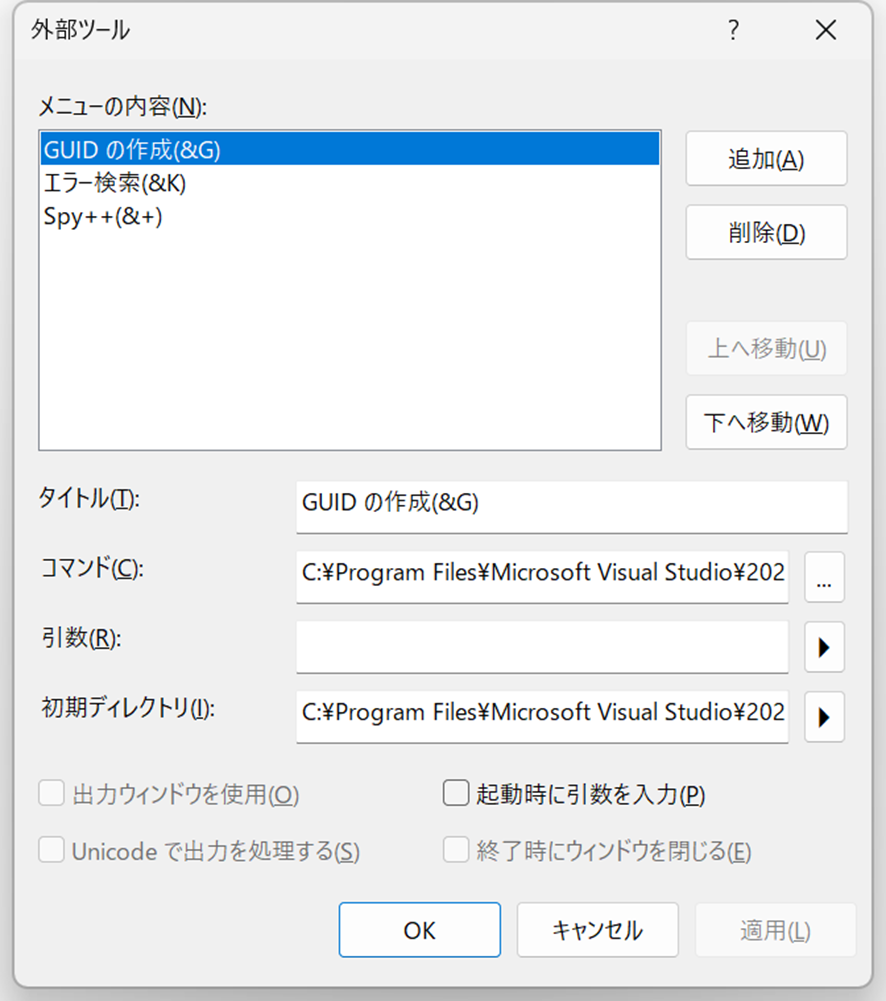
ここで右側の”追加”をクリック。
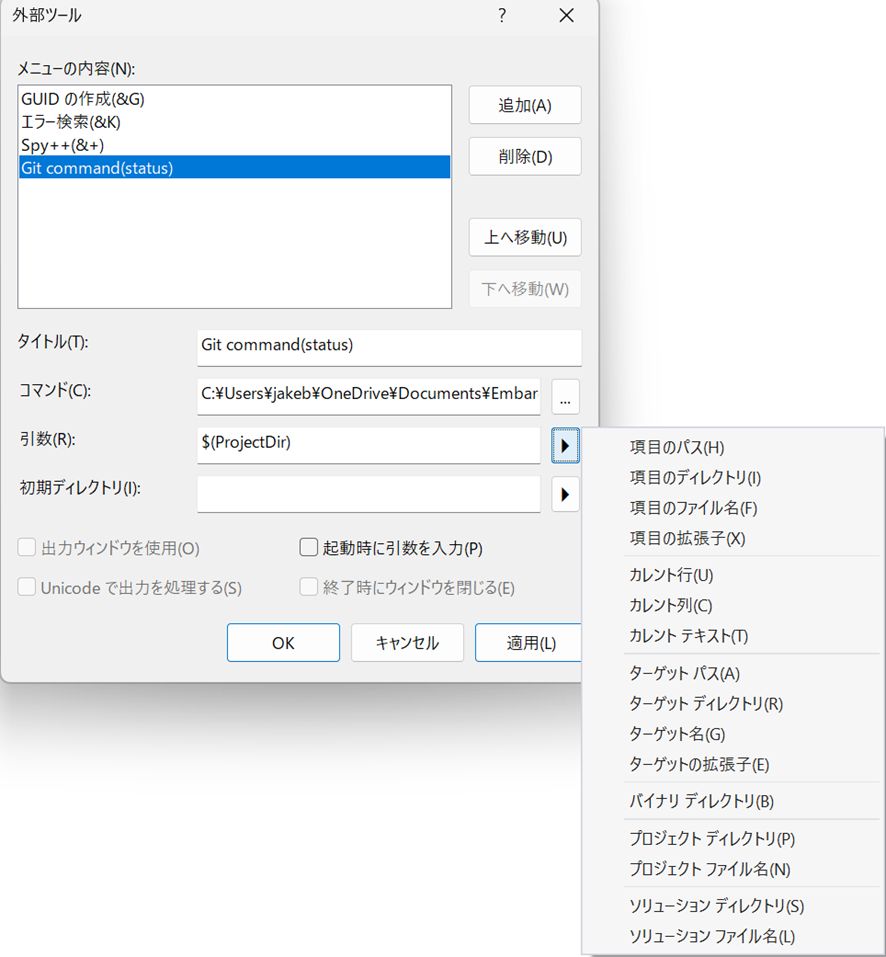
タイトルやらコマンドの在処を指定して、引数としては上図のように出てきたプルダウンメニューから”プロジェクト ディレクトリ”を選びます。
C++ Builder CEの場合でも、Visual Studioの場合でも、ソースコードやリソースに変更がない状態で“Git status”しても、
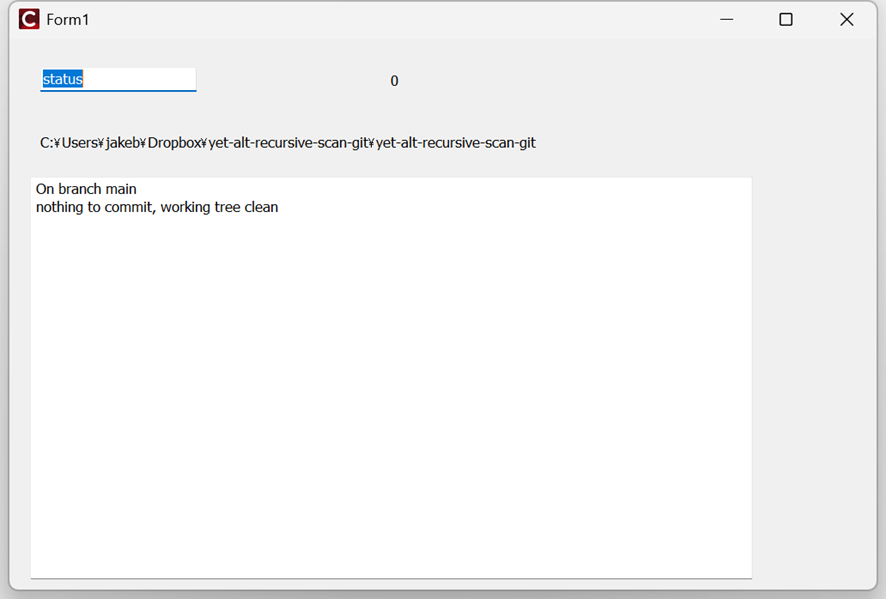
となりますが、なんらかの修正を加えてから再度“Git status”すると、
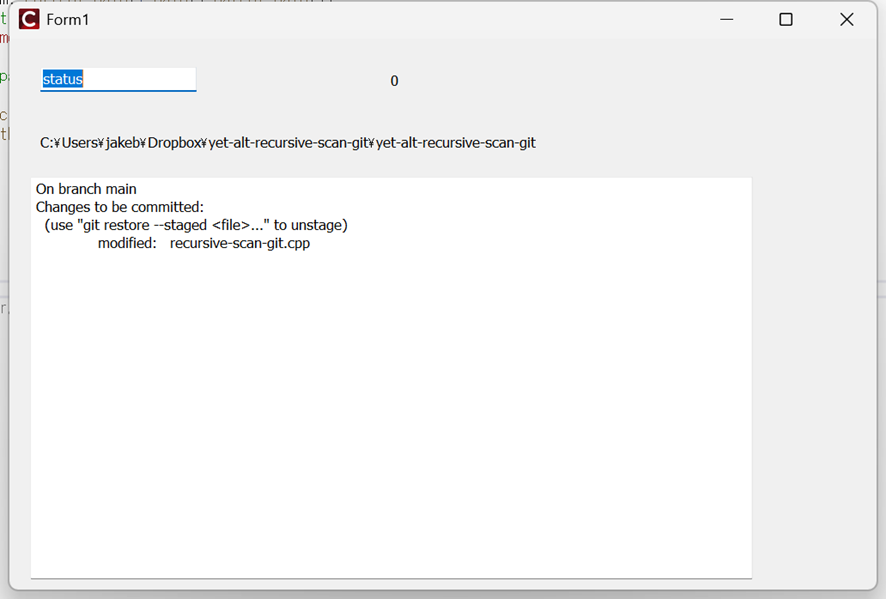
となり“commit”すべきファイルの存在を指摘されます。この時点で“commit”してもいいし、他のファイルを変更ないし修正してからまとめて”commit”してもいいわけですね。

コメント
Edit1->OnKeyPressのhookの設定課程が抜けていたので、補足しました。
関数としては、Edit1KeyPressです。